1. Make Use of the Pre-shoot Consultation
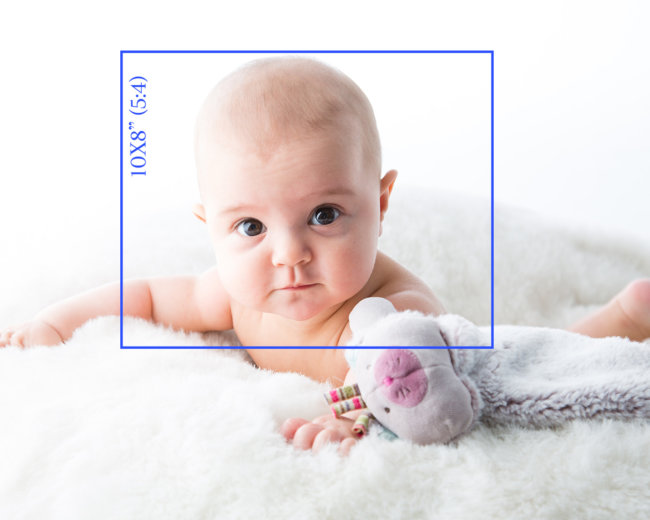
It’s important to make the effort to communicate to the photography studio what you are seeking to get out of the session (and perhaps what you are looking to avoid!). One key element is how you propose to use the images. Is it for social media (eg LinkedIn), general use, or a website (has the designer specified a particular requirement such as a square crop or a white background?).
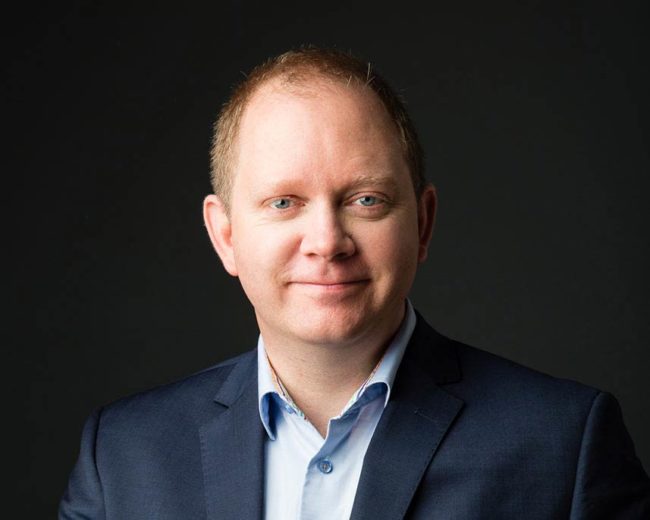
Equally important is the impression you want to convey with your portraits. Many Light Republic clients desire a professional and approachable look, but your needs may dictate a more formal or perhaps creative/maverick style.
Finally you may want to inform the photographer about any other specific requirements for your headshots. At Light Republic we try to capture a range of different styles to offer a varied choice, but you may prefer strongly crisp white backgrounds or artistic monochrome images, for example.
2. Select Your Outfit(s) For The Session
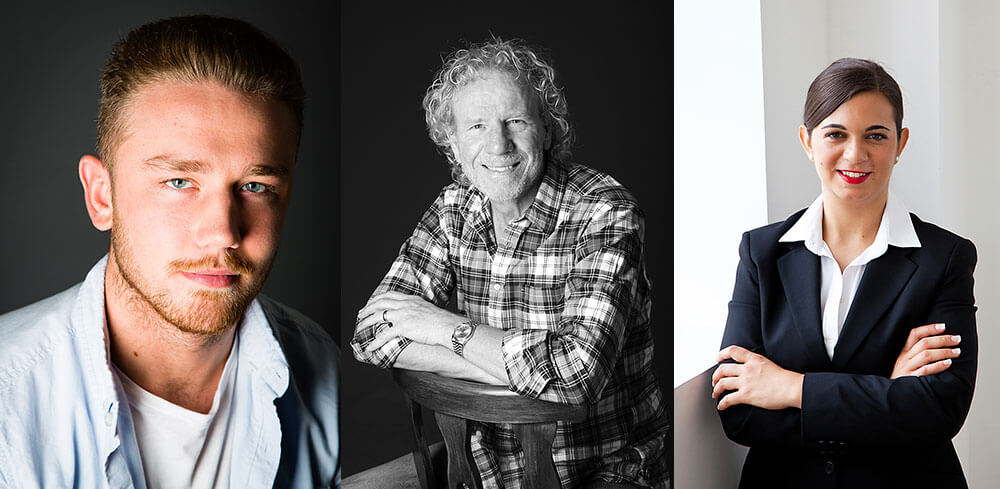
Clearly your outfit must be consistent with your purpose and intent above; but it is also important that it also comfortable, fits with your personality, and makes you feel confident! Also bear in mind that you can change outfits during the session (though be careful not to go overboard on this as it might eat into the photography time excessively).
It goes without saying that your clothes should be neatly pressed. As a general rule, keep patterns (and certainly logos) to a minimum as they can be distracting. For the same reason, avoid jewellery and accessories unless you think they are absolutely vital in conveying your personality. And while solid colours tend to be better, we would encourage the avoidance of items of clothing that are wholly black or white.
Also if you would like portraits that go beyond tight headshots, it is also better to use similar tones on your top and bottom. Lighter colours often make people look bigger; so a light colour on top with dark trousers will make your top look larger (and vice versa). Using similar tones for your top and bottom will ensure one doesn’t appear larger than the other.
And similarly, it will also be wise to wear a top with sleeves at least to the elbow – because uncovered arms often have more skin area than faces; and therefore might divert attention.
3. Hair, Skin and Make-up
Our general advice is that if you are going to have a hair cut/colour (or even a facial), do it 2-3 days before the shoot. You don’t want that freshly cut look in the photos!
Make-up is obviously different and you should apply this just before the shoot. Is often a good idea to bring make-up and moisturiser to the session for touch-ups (and don’t forget your hairbrush). Men should also shave just before the shoot (if you want a clean-cut look); and if you are feeling particularly brave, add a light foundation to reduce the shine in your photos – especially if you have a darker complexion. (Most studios are happy to reduce any shine in post-production though).
Finally, make sure you are well rested and drink plenty of water before the shoot.
4. Practice!
It might seem a bit cheesy, but practising in front of the mirror never did anyone any harm (just make sure no-one is watching!). At the very least you will know what look you like best (example, no teeth showing); and you’ll see what a forced smile looks like. Try squinting very slightly and see how this looks.
But once you have conveyed your requirements to the photographer, you should trust him or her to help you relax and enjoy the session. Listening to background music is often a good idea.
5. Glasses
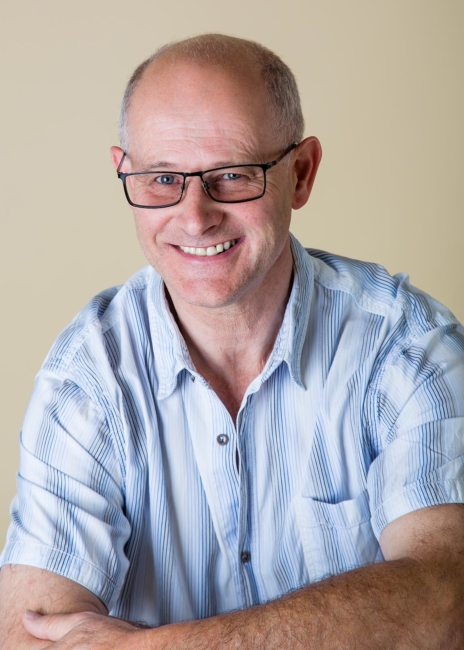
If you wear glasses during the shoot, the photographer will try to minimise the reflections, but these are impossible to avoid completely. So whilst they will still be present for the proofing stage, we will remove them at the final stage for any high resolution images that you select (this takes quit a bit of intricate post production work). Occasionally, to aid in this process, we my take a few photos of you without your glasses.
