
Professional photography is not just about capturing the image on camera: it’s also about post-production. Many people are aware of the concept of digital image manipulation especially when it comes to photographs of models and celebrities. Skin smoothing, wrinkle softening and body slimming are well-known examples in a wide range of possibilities. We sometimes get involved with this type of digital artistry; but family photography often requires a slightly different approach. This article looks a little behind the scenes at the work involved after an image has been captured on camera.
At Light Republic most of our work is in the studio, so the lighting is already very well controlled and modified. But even then, when the Raw images comes off the camera, we undertake a number of careful adjustments to optimise the image ready for printing. We routinely do do this regardless of whether we are producing a wall portrait or a digital high resolution image for our client. It’s all about attention to detail. (We are sometimes horrified when we hear stories about photographers offering their clients unprocessed image files straight from the camera!).
This recent Light Republic image of Daniel and Jessica is a well exposed professional image captured in a high key style in the studio. But there are, nonetheless, a number of adjustments and enhancements we have made for our clients:

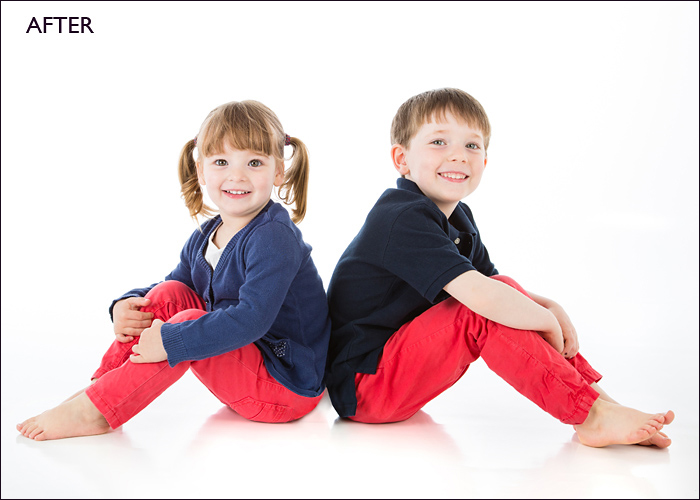
1. Skin colour/white balance. One would expect skin colour to differ markedly – even within families – but here the overall image white balance has given Jessica’s face a slight yellow cast. We have balanced this up to closer to her brother’s skin hue.
2. Clean-up around the nose area!
3. Floor shadow. Without a doubt we want to retain some element of shadow, because otherwise it would like the children are just suspended in a white void. So the key here is to lift the shadow so that it fits the the overall lighting (high-key) style without distracting the viewer from the subjects.
4. Fluff/dust. We have removed this from Daniel’s shirt; and would generally check for this on clothes and photographic backgrounds.
5. Distracting elements. We have removed the section of Jessica’s white shirt hanging from the bottom of her back. This takes a fair amount of digital skill – and this is an example of something we would undertake at the request of her parents.
6. Differential sharpening. The plane of Daniel’s head was slightly different to his sister’s, so we undertook some local sharpening in this area of the image.
7. General sharpening – for printing purposes.
8. General contrast and saturation adjustment (taking care not to block any of the shadow areas).
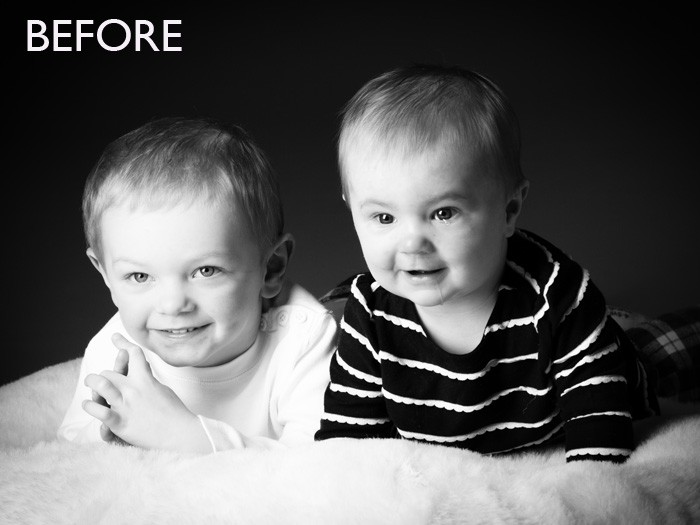
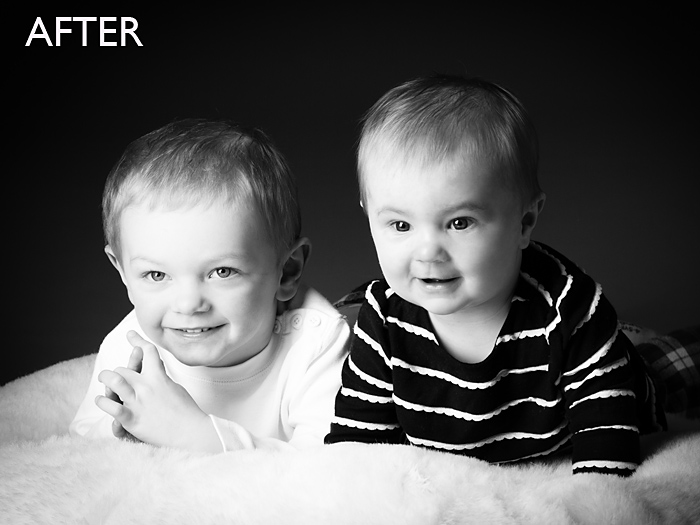
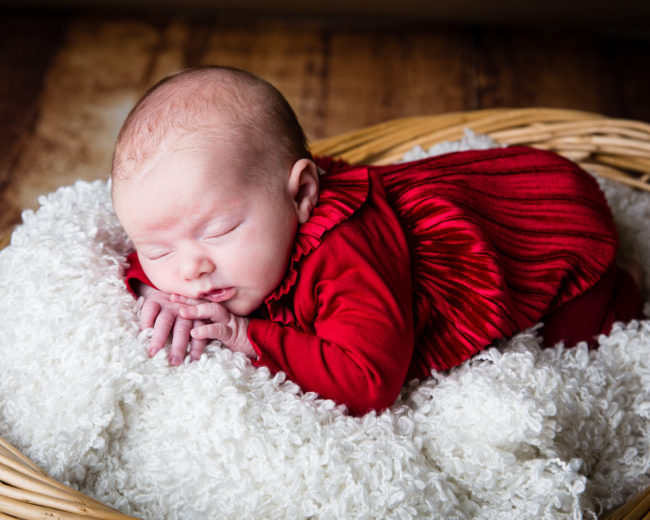
Here are some other examples of enhancements/adjustments that we might do at the studio. In this next photograph, the original image shows that the younger child had just been crying (not unusual with babies and toddlers!). But at the request of the parents we altered the image to remove the blotches and tears. This is an example of keeping the image ‘real’, but making certain elements less distracting.
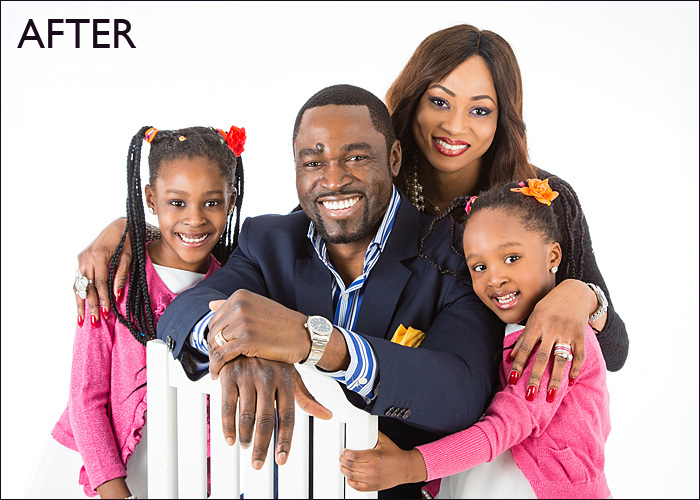
The final image (again at the parents’ instigation) shows how a professional family photograph can be improved with some gentle head-swapping of the two girls. This particular change is quite subtle. But often in our Surrey studio we might be photographing a large generations shoot containing many children. The chances of getting the perfect single image (with all sitters smiling, looking their best and with direct camera contact) is remote. So the ability to convincingly head-swap between images is often very important. (And yes, we have heard all the jokes about swapping Dad for Tom Cruise!).

As a general rule we undertake about 80% of the adjustments before the image viewing (usually about a week later). When the clients have made their final selections we would return to the Raw file to full optimise the image (and retouch the image according to any personal requirements highlighted by the customer).
Recent Posts

JPEG File Sizes and Image Resolution There is sometimes confusion between image resolution and JPEG file size. This post is …
Booking and Timings After the birth of your baby it’s a very joyful, but also very exhausting, time of your …

1. Make Use of the Pre-shoot Consultation It’s important to make the effort to communicate to the photography studio what …

Do you have an important anniversary or birthday coming up in your family? For significant birthdays or anniversaries, surprising a …

Let’s dive into a topic that’s been buzzing around the photography world lately. With the rise of artificial intelligence (AI) …
Most people are at comfortable with the process of purchasing photographic prints. There are many alternative printing companies online and …